The Processing Region
The Processing Region Decoration is used to show the region on which processing is limited.
Through that you make sure that even if you have a map of resolution 1x1 meter and size of 60000x60000 (which would kill your machine if running analyses on it) it gets downsized and re-sampled to the needed resolution and boundaries.
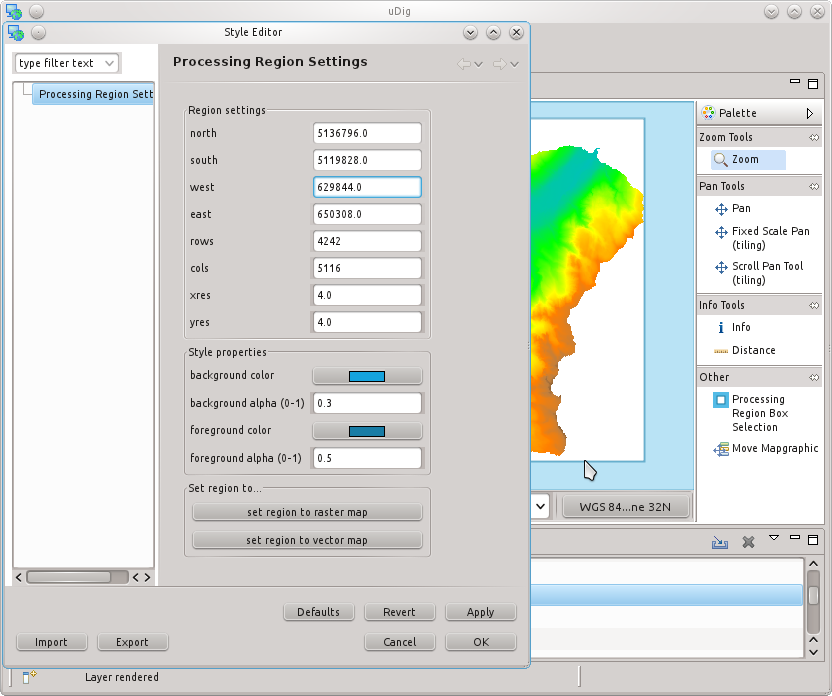
In the following image you can see the Processing Region set to the bounds and resolution of a raster map:
If we have a look into the Processing Region style, we can manually change the settings of the region, which means we can change:
- north, south, east, west bounds
- number of row and cols
- x and y resolution
Obviously the rows/cols and resolution are connected and since the number of columns and rows can only be an integer number, every time resolution is changed, everything is recalculated to work properly.
It is also possible to set the region to the bounds and resolution of an available raster map or vector map.
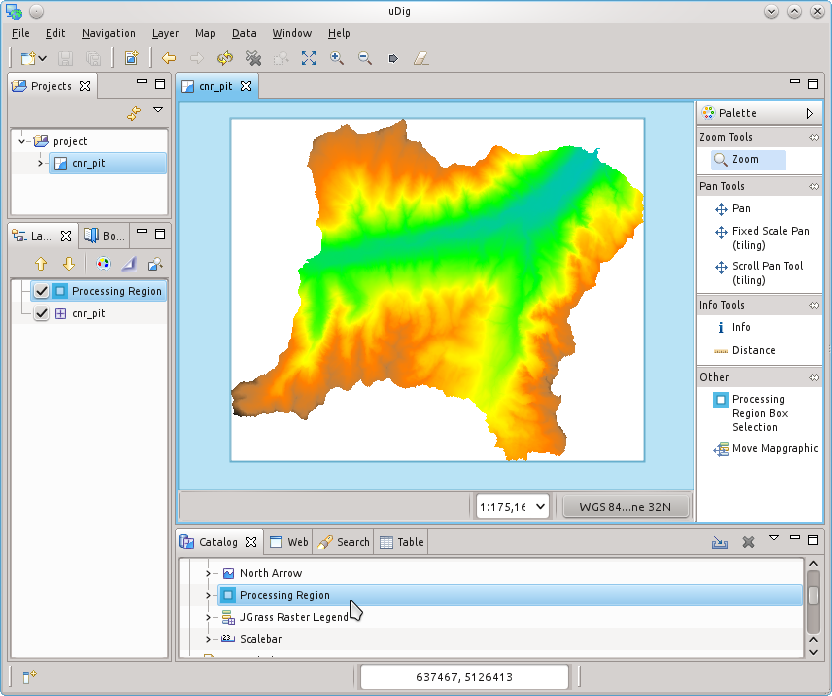
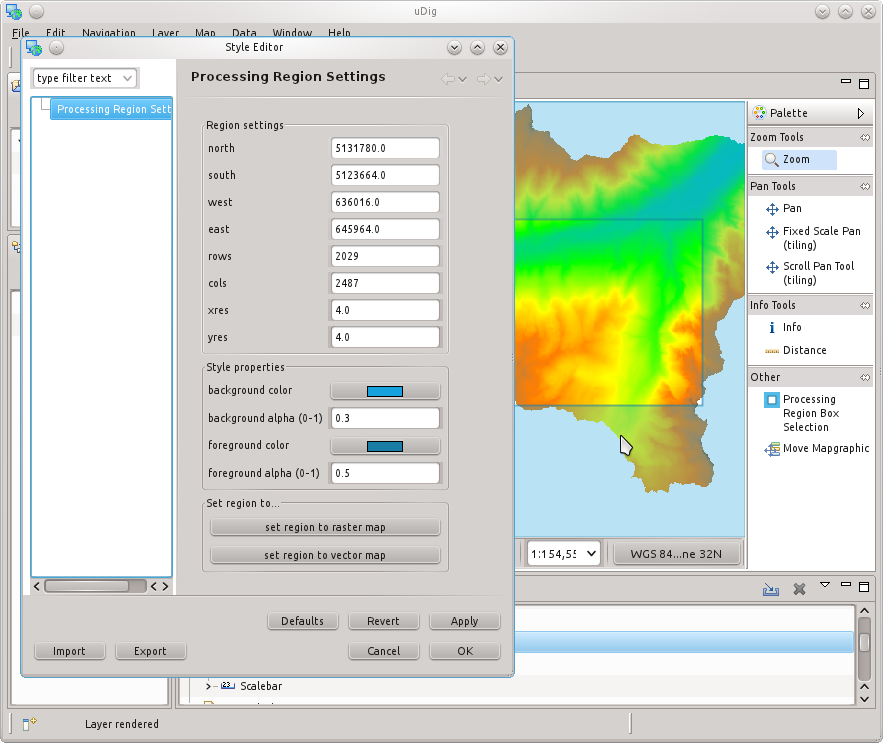
One might want to select his region interactively through a bounding box, and that is what the Processing Region tool if there for:

Through that tool the Processing Region is set to the bounding box drawn on the map. Since usually people want to align on the initial grip (usually the native data grid), when the user releases the tool, the region is snapped to the original grid, leaving the resolution untouched:
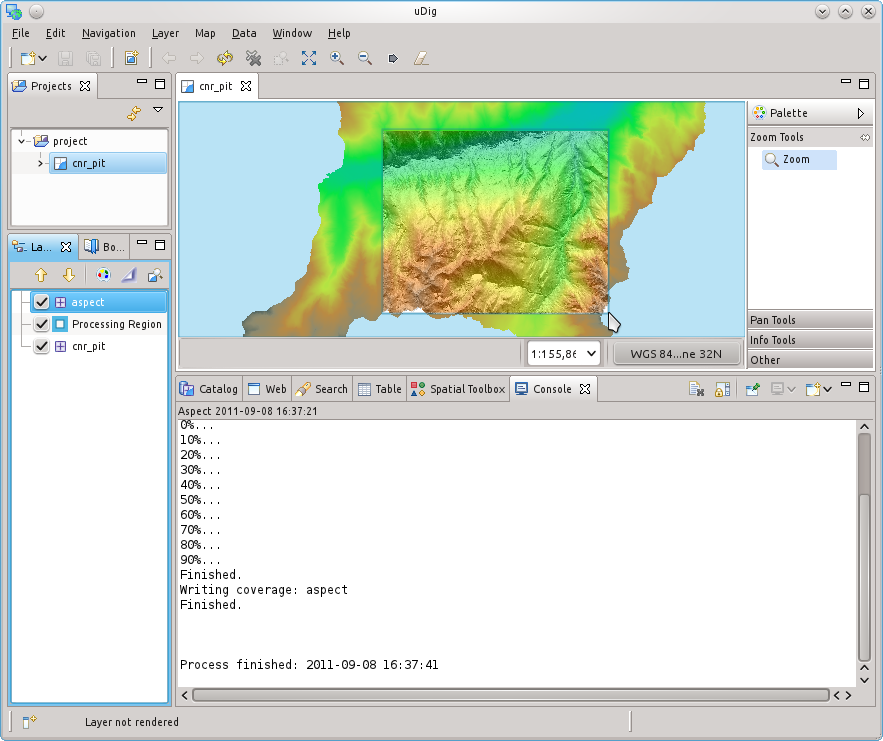
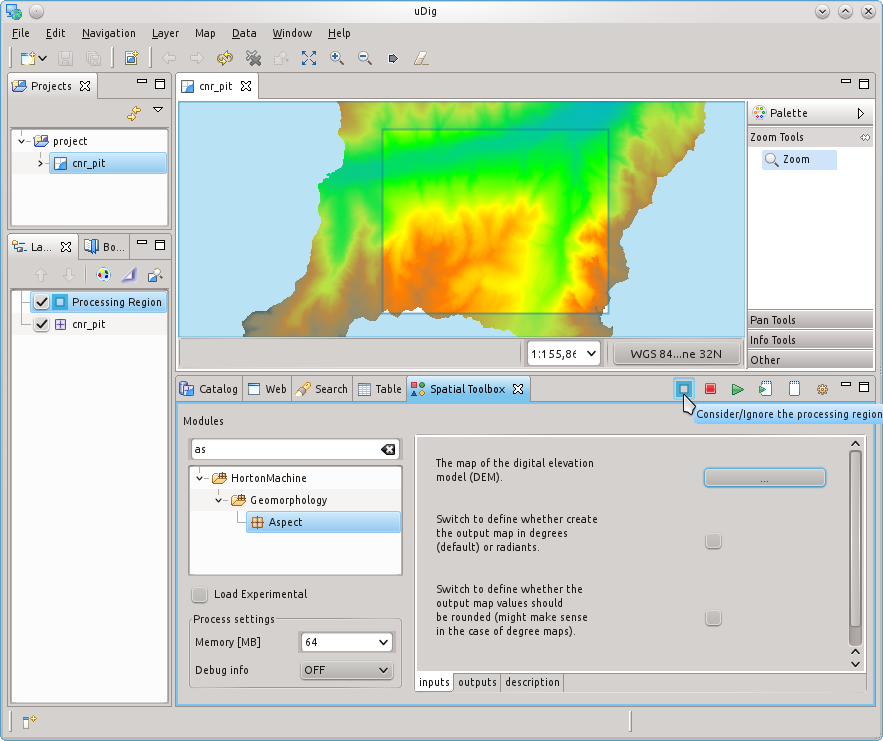
The Processing Region can then be considered in the Spatial Toolbox.
Let’s assume for example that you want to work only on a small part of the map (the smaller box we created a few steps ago). You open the Spatial Toolbox, select the module you want to execute (here aspect) and you select the toggle button on the view bar, that will force to work on the processing region instead of the whole map:
And voila’, the process was executed only on the part defined by the Processing Region: